Yes, you can take photos and video on a Barcelona helicopter tour. Helicopter Tour Barcelona welcomes your own phone or camera on a wrist strap and sells no photo add-on, so you are the photographer. The best Barcelona helicopter tour photos come from a fast shutter, no flash and a lens held close to the glass.
Key takeaways
- Photos and video are welcome on your own phone or camera, on a wrist strap. There is no photo add-on to buy.
- Anything the company does not publish a rule on, such as drones, selfie sticks, mounts or where camera bags go, is a question for the team before the day.
- No seat, window or side of the aircraft can be promised, so be ready to shoot well from wherever you end up sitting.
- Longer flights give more time to frame and retry: from about 6 to 7 minutes in the air on the Barcelona Coast Tour to about 40 minutes on the Barcelona Sky & Montserrat Tour.
- On a private flight everyone in the cabin is part of your own group, which makes it easier to plan who films and who takes stills.
- Through glass, manage three things: reflections, vibration and focus. Wear dark clothing, keep the lens close to the window and use a shutter speed of 1/1000 second or faster.
Can you take photos on a Barcelona helicopter tour?
Yes. Helicopter Tour Barcelona welcomes photos and video on your own phone or camera on its sightseeing flights, from the short shared Barcelona Coast Tour to the private Montserrat routes. The one condition in the published passenger information is that the device is on a wrist strap.
There is no photo add-on, so the pictures you take home are the ones you take yourself. That shapes what you bring and how you prepare.
Why the wrist strap matters
A device that slips out of your hand in a moving helicopter is a problem for everyone in the cabin. A wrist strap keeps it attached while you change grip or switch between photo and video. Bring your own: phone straps that clip under a case are cheap and widely sold. If you only have a neck strap or a lanyard, ask the team before the day whether it counts.
Questions to ask the team before your flight
The published rules do not cover every piece of kit photographers like to bring. If any of the following matter to you, ask Helicopter Tour Barcelona by WhatsApp or phone on +34 632 93 79 41, or by email at [email protected].
- Drones. Nothing in the passenger information covers bringing a drone, so ask before you pack one.
- Selfie sticks, gimbals and action camera mounts. Ask whether they are allowed in the cabin and how they fit with the wrist strap rule.
- Large cameras and long lenses. Ask what size of camera is practical and where a camera bag goes during the flight.
- Airplane mode. Ask whether phones need to be switched to airplane mode for the flight, and follow what the crew says at the briefing.
- Windows. Plan to shoot through the glass. Any question about the windows is one for the crew.
Which Barcelona helicopter tour is best for photography?
The best route for photography depends on what you want in the frame and how long you want to compose. The table sets out the five routes and the landmarks each one lists.
| Route | Type and price | Time in the air | Aircraft and seats | Landmarks the route lists |
|---|---|---|---|---|
| Barcelona Coast Tour | Shared, EUR 124 per person | About 6 to 7 minutes | Robinson R44 or Airbus AS355, 3 to 5 seats shared | Barceloneta beach, Port Vell and the W Hotel, World Trade Center, Columbus Monument, Torre Glories, San Sebastian, San Miguel and Somorrostro beaches, Besos river mouth |
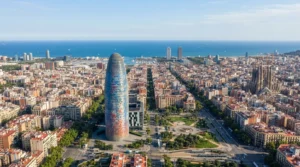
| Barcelona Sky Tour | Shared, EUR 209 per person | About 11 minutes | Airbus AS355, at least 4 passengers to depart, up to 5 | The coastline, Torre Glories, La Sagrada Familia, Avinguda Diagonal, Camp Nou, Placa Espanya, Montjuic and the Olympic Ring |
| Barcelona Coast & Besos Tour | Private, EUR 389 per helicopter | About 11 minutes | Robinson R44, up to 3 passengers | Barceloneta, Port of Barcelona, World Trade Center, Columbus Monument, Torre Glories, El Forum and the Besos river, then back along the coast |
| Barcelona Coast & Montserrat Tour | Private, EUR 1,499 per helicopter | About 35 minutes | Robinson R44, up to 3 passengers | The port, Maremagnum, Torre Glories, beaches, Besos, then via Sant Cugat and Rubi to the Montserrat monastery |
| Barcelona Sky & Montserrat Tour | Private, EUR 2,450 per helicopter | About 40 minutes | Airbus AS355, up to 5 passengers | Sagrada Familia, Camp Nou, Montjuic, Montserrat |
Every route returns to Moll Adossat Heliport at Port Vell. None of them lands at Montserrat or anywhere else, so plan your mountain shots from the air. For more detail on each flight, see all five helicopter tours compared.
Coast routes: beaches, the port and the waterfront
The Barcelona Coast Tour is the lowest-priced way to photograph the waterfront, at EUR 124 per person for about 6 to 7 minutes in the air. With a long landmark list in a short flight, it rewards preparation. Have the camera app open and the lens wiped before take-off, and shoot in bursts rather than waiting for one perfect moment.
The private Barcelona Coast & Besos Tour covers the port and the coast over about 11 minutes, at EUR 389 per helicopter for up to 3 passengers in a Robinson R44. Its route runs out to El Forum and the Besos river and then back along the coast, which gives you more time with the water.
City landmarks: Sagrada Familia, Camp Nou and Montjuic
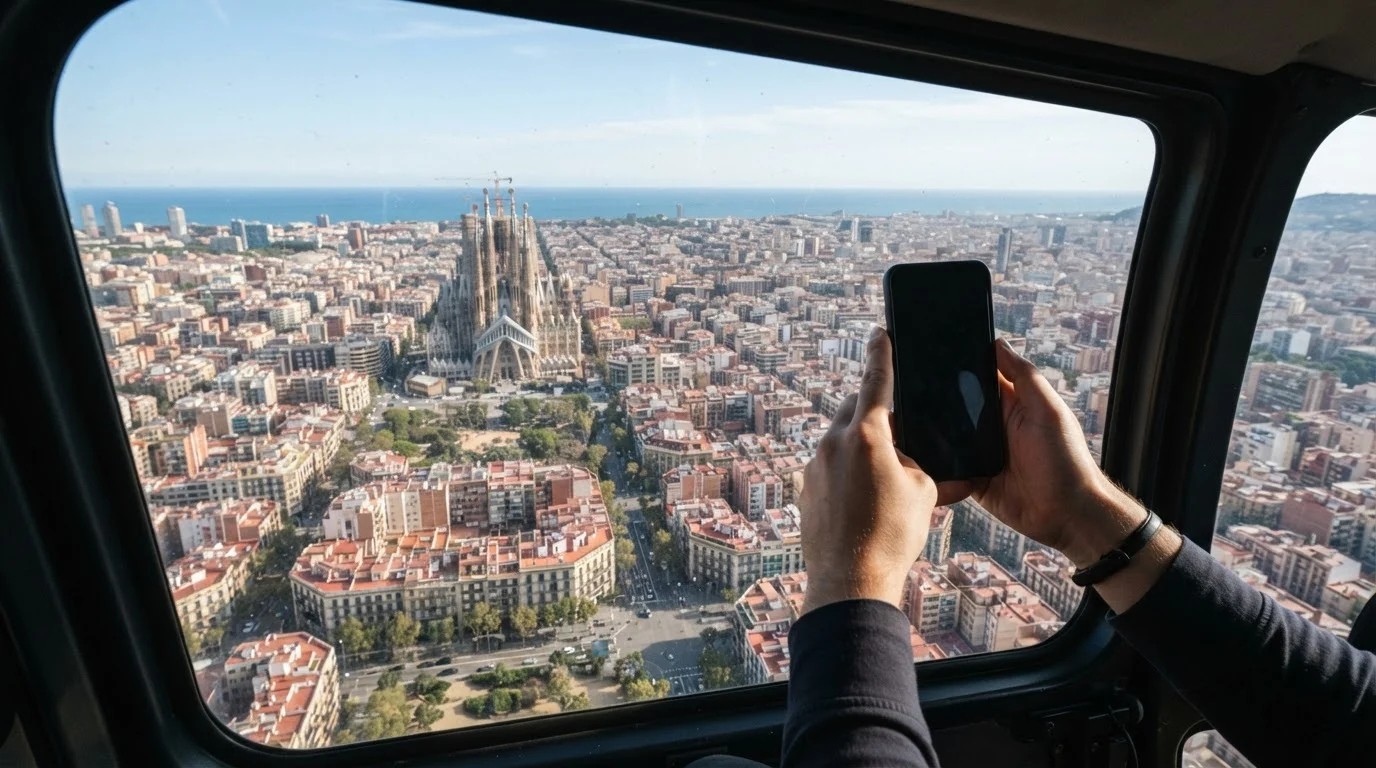
If La Sagrada Familia is the shot you want, choose a route that lists it. The shared Barcelona Sky Tour does, at EUR 209 per person for about 11 minutes in the air in an Airbus AS355 with an onboard audio guide. The Barcelona Coast Tour does not, so do not book it for that photo.
The Sky Tour needs at least 4 passengers to depart and seats up to 5, so you share the cabin with other guests. The Sagrada Familia helicopter tour guide explains the route and the passenger minimum in more detail.
For the city and the mountain on one flight, the private Barcelona Sky & Montserrat Tour lists Sagrada Familia, Camp Nou, Montjuic and Montserrat, at EUR 2,450 per helicopter for up to 5 passengers.
Montserrat: the longest flights for photos
The two private Montserrat routes give the most time behind the lens. The Barcelona Coast & Montserrat Tour is about 35 minutes in the air in a Robinson R44 for up to 3 passengers, at EUR 1,499 per helicopter, and continues via Sant Cugat and Rubi to the Montserrat monastery.
The jagged rock of Montserrat, with the monastery set into the mountainside, makes a very different picture from the city. A longer flight also lets you settle in, check a few frames and adjust your settings. Both Montserrat flights return to Moll Adossat Heliport.
Shared seat or private flight for photos?
A shared seat is the lower-priced way in. On the Barcelona Coast Tour or the Barcelona Sky Tour you share the cabin with other passengers, so keep your elbows in and the strap wrapped.
On a private flight, everyone in the cabin is part of your own group. You still cannot pick a window, but you can agree before take-off who films video, who takes stills and who simply watches.
Can you choose a window seat for photos?
No seat, window or side of the aircraft can be promised in advance. If seating matters to you, mention it to the team, but plan to shoot well from any position rather than counting on a particular view.
Preparation matters more than the seat.
Check-in includes an ID check and a weigh-in. For the full passenger requirements, read the weight limit and ID guide.
Phone settings for shooting through a helicopter window
The three things to manage are reflections on the glass, vibration from the aircraft and the phone's autofocus.
Cut reflections and glare
- Wear dark, plain clothing. A white or patterned top reflects in the window and shows up as a ghost image over the city.
- Bring the phone close to the glass, so the lens looks through it rather than seeing the cabin reflected in it.
- Cup your free hand around the lens, or use a soft rubber lens hood made for phones, to block light from inside the cabin.
- Tilt the phone a few degrees if a reflection appears, rather than shooting square to the window.
- Turn the flash off. It cannot light a city from the air and only bounces back off the glass.
Keep the lens and window clean
- Wipe your phone lens with a microfibre cloth before you board. Pocket lint and fingerprints soften every shot.
- If the inside of the window has a smudge in your line of sight, a gentle wipe with the same soft cloth often helps.
- Marks on the outside of the glass cannot be fixed in flight, so move the lens to a clearer patch.
Beat the vibration
- Hold the phone close to the glass without pressing it against the window. Glass passes vibration from the airframe straight into the lens.
- Tuck your elbows into your body and let your arms absorb the movement.
- Keep the shutter fast. In daylight, most phones do this automatically; in a pro or manual mode, aim for 1/1000 second or faster.
- Use burst mode, then keep the sharpest frame.
Focus and exposure
- Tap the landmark to focus, then press and hold to lock focus and exposure if your phone supports it. Otherwise the autofocus may grab a speck on the glass.
- Bright sea and sky can make the city look dark, or the sky can turn white. Pull the exposure slider down a little to protect the sky, then lift the shadows when you edit.
- Leave HDR switched on. It helps balance sunlit water against shaded streets.
Lenses and zoom
- Use the main 1x camera for most shots. It usually has the best sensor.
- Use the ultra-wide lens for the sweep of the coastline or the city blocks, but watch the edges of the frame, where the window frame can creep in.
- Use the phone's optical telephoto lens, if it has one, for details such as the towers of La Sagrada Familia. Avoid heavy digital zoom, which magnifies every bit of shake and haze.
Camera settings for a dedicated camera
If you bring a mirrorless camera, a DSLR or a compact, a few settings make the difference between soft and sharp frames. Whatever camera you bring, it goes on a wrist strap.
- Shutter priority or manual. Set 1/1000 second or faster and let auto ISO handle the rest. In daylight it usually stays low.
- Aperture. Mid-range apertures around f/5.6 to f/8 are sharp on most lenses.
- Focus. Use single-point autofocus on the landmark, or manual focus at infinity, so the camera does not lock onto the window.
- Stabilisation. Leave in-body or lens stabilisation switched on for handheld shooting.
- One lens. Fit a standard zoom, such as a 24-70mm or 24-105mm equivalent, before you leave. Changing lenses in a moving cabin risks dropping something and lets dust onto the sensor.
- RAW plus JPEG. RAW files leave room to correct haze later.
- Polarising filters. A polariser can cut glare from the sea, but through some aircraft windows it shows rainbow-coloured stress patterns. Remove it if they appear.
Recording video on a Barcelona helicopter flight
A few habits keep helicopter footage watchable.
- Shoot short clips. Ten to twenty seconds per scene is easier to edit than one long take and leaves time for stills.
- Turn on stabilisation. Use the phone's enhanced or action stabilisation mode if it has one, and hold the phone with both hands, strap on.
- Pan slowly or not at all. Let the helicopter's movement provide the motion. Fast pans through glass look jerky.
- Pick a frame rate. 4K at 30 frames per second is a safe choice. At 60 frames per second motion looks smoother and you can slow clips down later.
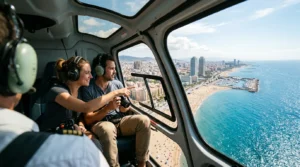
- Expect cabin noise on the soundtrack. Noise-cancelling headsets are included on every flight, and your phone will mostly record engine and rotor sound. Add music or a voiceover when you edit.
- Check storage and battery. 4K video fills memory quickly. Clear space and charge fully before the day.
Selfies and group shots
- Switch to the front camera for a quick selfie with the window filling the background, strap on. Expect the headsets in the picture.
- For a group picture on the ground, the terminal has a terrace over the helipad. Ask the team before you photograph near the aircraft.
How much time do you get for photos?
The time in the air sets your photo budget. It ranges from about 6 to 7 minutes on the Barcelona Coast Tour, within about 25 minutes in total, to about 40 minutes on the Barcelona Sky & Montserrat Tour.
On the short routes, decide in advance what matters most, for example two or three landmarks from the route list and one short video clip. Then lower the phone for a moment and look. A flight seen only through a screen is a flight half missed.
On the longer routes, take a test burst early, check it for reflections and blur, and adjust.
Light, time windows and weather
The booking form offers three time windows: 10:15 to 11:45, 12:15 to 14:00 and 14:30 to 17:00. Book at least 2 days ahead. The exact departure time is confirmed about 24 hours before the flight, so you choose a window rather than a precise minute.
For photos, the main difference between the windows is the angle of the sun. Around the middle of the day the light is harder, shadows are short and the sea can throw bright glare. The first and last windows usually give buildings a little more shape. For timing through the year, read the best time to fly a helicopter over Barcelona.
Haze and cloud can soften distant subjects such as Montserrat. The pilot in command decides whether a flight operates. If weather, safety, technical or airspace reasons stop a flight, you are offered another date or time, or a refund if that does not suit.
If you want to change your own booking, changes or cancellations must be requested at least 48 hours before the flight, and later requests may not be accepted. Missing the flight or arriving too late to board is generally non-refundable, which is one more reason to arrive on time with your camera ready.
A photo plan for the day
The night before
- Charge your phone, camera and any spare batteries.
- Clear storage space for photos and 4K video.
- Clean the lens and pack a microfibre cloth.
- Fit the wrist strap and check that it is secure.
- Lay out dark, plain clothing.
- Note the landmarks your route lists, so you know what to watch for.
At the heliport
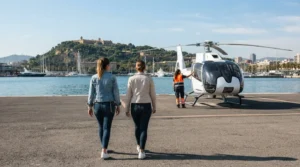
Arrive at the terminal at Moll Adossat Heliport 30 minutes before departure, with a valid passport or national ID for every passenger. Check-in includes the ID check and weigh-in, and every flight includes a safety briefing, given verbally and with a short video.
There is no metro station at Moll Adossat, so allow time for a taxi or car. The optional Private Pickup and Dropoff costs EUR 250 per car for 5 to 6 passengers, with pickup 1 hour before the flight.
The terminal has seating, free Wi-Fi and a terrace over the helipad. Use the wait to set your camera mode and take a test frame.
In the air
- Listen to the briefing and follow the crew's instructions first. Photos come second.
- Start with a few wide frames to settle in, then work through the landmarks your route lists.
- Shoot in bursts, keep the strap on and keep the lens close to the glass.
After landing
- Use the terminal Wi-Fi to back up your best shots before you leave.
- Edit a handful of favourites lightly: straighten the horizon, lift the shadows and reduce haze with the dehaze control. Keep the full-resolution originals.
Conclusion
Good photos on a Barcelona helicopter tour come down to three choices: a route that lists the landmarks you care about, a device on a wrist strap that is set up before take-off, and a technique that respects the glass. Ask the team about anything the published rules do not cover, and leave the seat to chance.
Ready to plan your shots? Book a shared seat on the shared flight booking form or the whole helicopter on the private flight booking form, and send any camera questions by WhatsApp or phone to +34 632 93 79 41.